The Library was a long time in coming because I could not get my head around how to do the panelling. One thing was for sure - I wanted real wood NOT wood that had been stained. That was a good decision even though it took a while longer. When you stain wood you raise the grain and so it makes it difficult to get the sheen of well finished wood - especially with all the cracks and crannies of panelling.
So I chose real walnut - American walnut I believe. My thanks are due to lots of people who helped along the way. Thanks to Rose Evans's husband, Geoff, who thinned my walnut down to manageable thicknesses. Thanks to Richard Ferguson who helped me do the arithmetic to work out what sizes the panels and the in-between bits needed to be on each wall so they would fit exactly. (Arithmetic is not one of my strengths but he worked it all out on Excel) and then helped me cut the first panels.
Time for a picture:
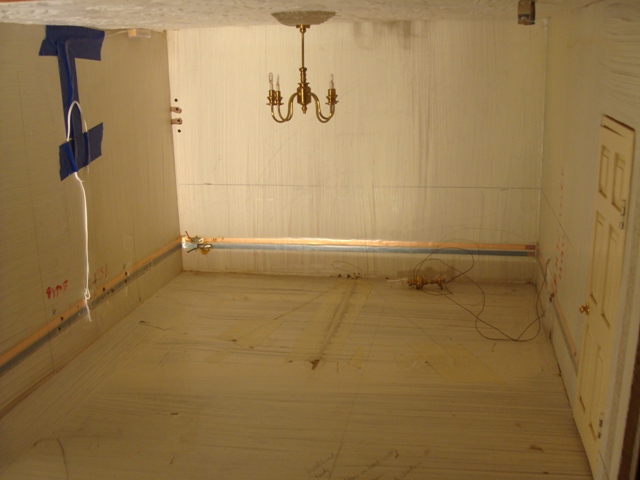
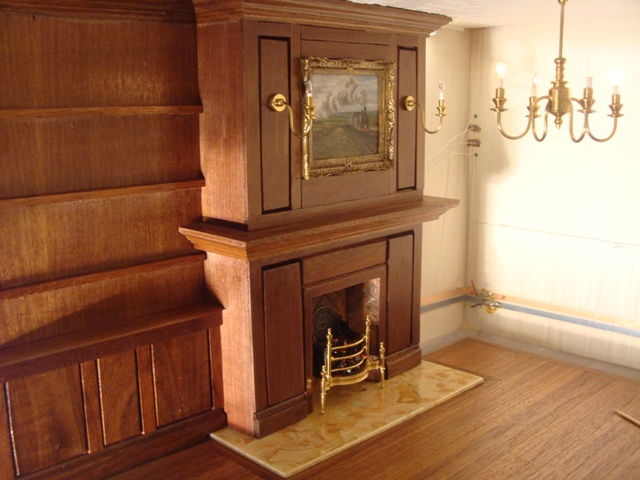
Here is what the room looked like when I began. The electrics are in place for the fireplace and for a beautiful office lamp that was a gift from Ray Storey. Plus you will see 4 holes for taking the wires out to the back of the dollshouse for the 2 lights on either side of the fireplace.
I always create the walls of every room on a background of matte board. It is easy to work with BUT you cannot put any moisture on it because it buckles irritrievably. So you use double sided tape or spray contact adhesive. I started by making the fireplace out of MDF. My thanks to Rose Evans who cut the walnut strip wood with her miniature router to get the fireplace mantel wood and the cornices.
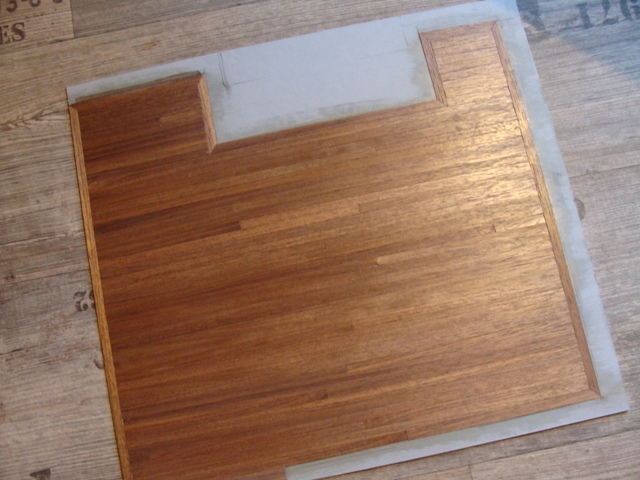
I made the floor out of strip wood, as I have with all my other floors. BUT when I went into my supply I found some WALNUT. I do not even remember buying it!! I used contact spray adhesive. You will see a space for the fireplace and for some panelling which will go on top.
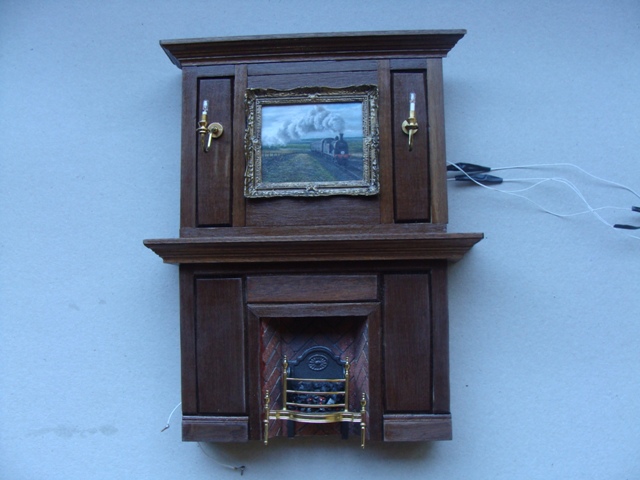
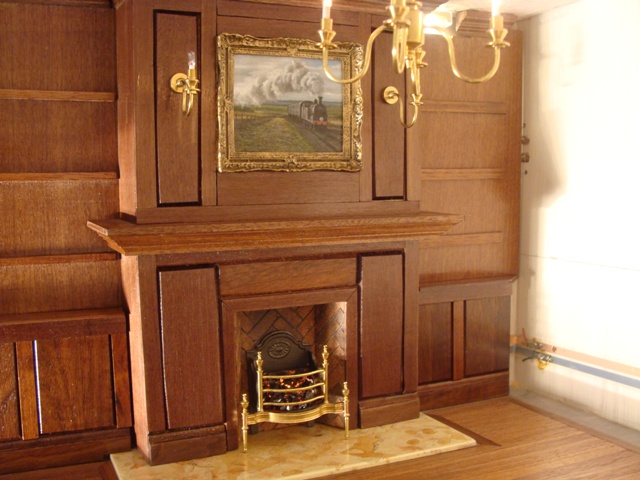
The painting is by Cindy Lotter - oil on canvas. Her company is called Simply Small and she is a yet-to-be-discovered treasure! The firegrate was bought from England. The lights are by Ray Storey. You can see the not-too-elegant wiring coming out the back but I did not want a situation where I could not reach the lights if there was a problem so I decided to take them out of the back of the dollshouse so I could get to them. This meant extending the wires.
Next I made the marble for the hearth. Easy peasy lemon squeezy. Prepare your piece of MDF with grey undercoat until it is super smooth. Spray paint your first colour. When it is dry use WATER paints with a little bit of colour splodged on top. Oil and water do not mix so you get random puddles. IF you like the effect, let it dry then spray with CLEAR varnish. Repeat with subsequent layers of varying colours of water paint, sealing each layer with clear varnish. If you get to a layer you do NOT like just wipe it off with a damp cloth instead of spraying with clear varnish. Stop when you are happy. Do not overwork it. Remember to take your colouring over the edges. (I tried).
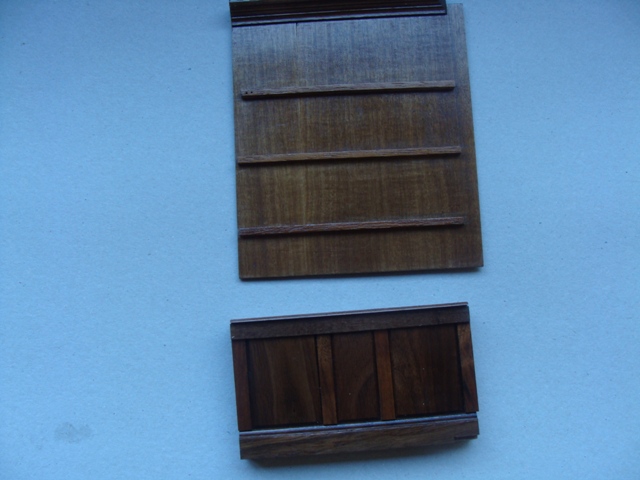
This is the section that will fit down stage right of the fireplace. The shelves will be added last. I made everything in sections.
Here you can see what it looks like when it is in place. The different colours are because of the flash on the camera.
And the whole of the right side wall put together. If you look carefully you can see an extra light that I squeezed in next to the fireplace. It is an LED and it will be hidden by the fireplace.
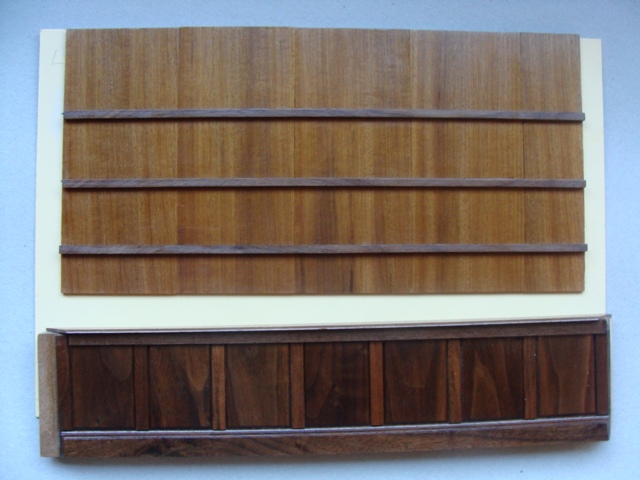
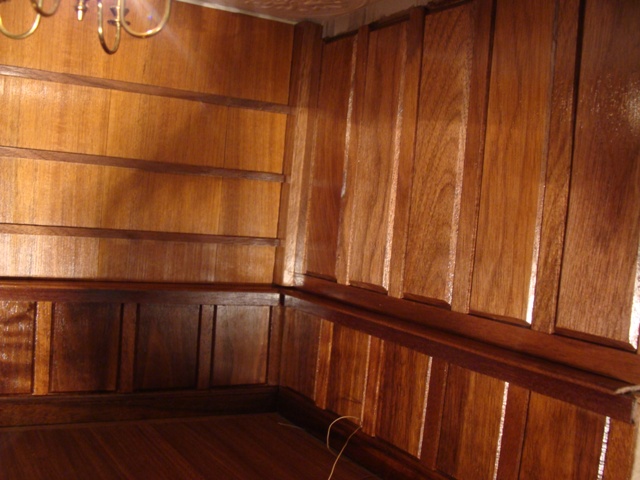
The back wall sections. Here you can see the beauty of the wood grain and why it is worth using the actual wood and not staining wood.
There is still a piece to go into the corner which pushes everything into place.
And the right hand wall. This will just be panels and no shelves. The other two walls will have shelves and books. Cornice still to come.
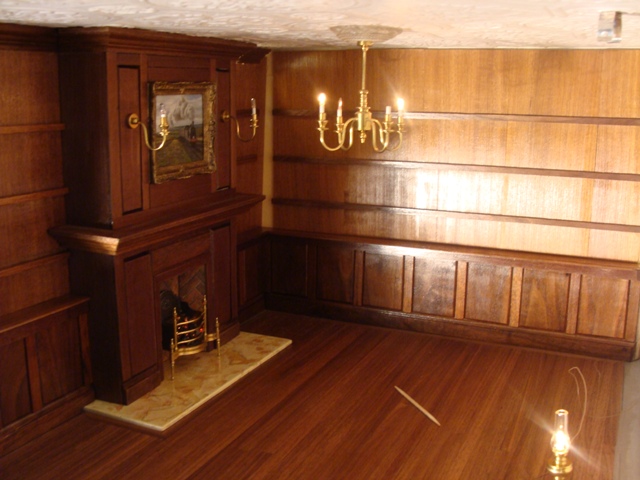
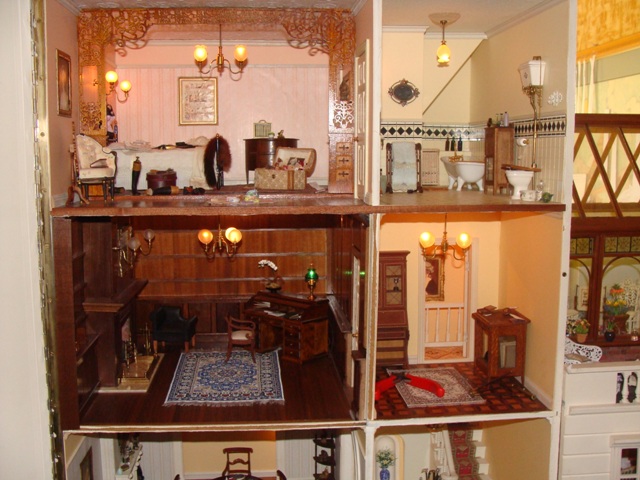
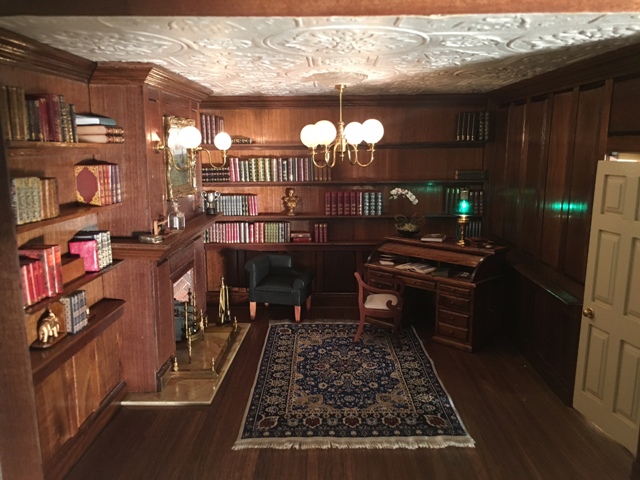
And here is a picture to give you an idea of what it looks like in the dollshouse. Next to come are the shelves and FINALLY the books. I cannot wait to fill the shelves! The lights on the fireplace are now connected but not in this photo.